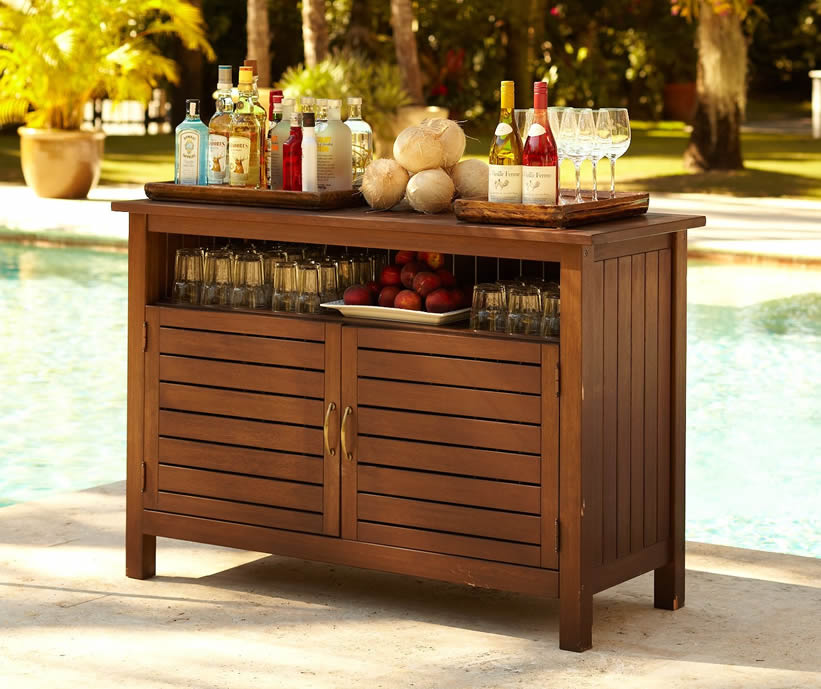
Easy Steps to Build Your Own Outdoor Buffet Cabinet
If you are creative enough and have courage to build something with your own hand, you might want to try this one. You can build your own outdoor buffet cabinet. Build one in your house and try to impress your guest.
Tools and Materials
To build your own outdoor buffet cabinet, these are the tools and materials that you will need to build. You will need these materials and tools. They are 1 × 6 lumber, 14 linear feet, 1 piece of 38 1/2-inch 1 x 2, 40 x 16-inch piece of sanded plywood, 1/2-inch square dowel rod approximately 14 inches in length, Light-duty #3 double-loop chain approximately 4 feet in length, Box of 1 1/2-inch coarse thread wood screws, Eyehooks and 1/8-inch S-hooks (same size as chain), Continuous (piano) hinge 36 inches long, High-quality wood glue, Decorative latch, Hanging mounts, Level or T-square, Sandpaper, Marker, Power saw, Wood filler, and Exterior stain or paint.
The Steps
The very first step to make outdoor buffet cabinet is Grab all of your supplies from Depot. The wood can be cut to size at your local Home Depot store or you can do it yourself with a power saw, carefully measuring and cutting each piece to fit. Assemble the sides, top and bottom pieces to make the frame. Ensure they are accurately put together using a level or T-square.
Carefully apply wood glue on both sides of where the pieces will meet before joining. Then, fasten together with wood screws, making sure to quickly take off any excess wood glue that is visible. Next, place the back top, middle, and shelf pieces, making sure all are flush and square. Install and fasten them to the frame using the same steps and materials used in step before. Center and then attach continuous hinge onto the front plywood piece with the screws provided from the hinge.
Make sure the other side of the hinge is fastened to the bottom portion of the bottom piece of the buffet. Test the hinge to make sure the front piece closes and opens properly. Next, attach eyehooks and S-hooks a few inches from the inside edge of the front piece and on the inside sides of the buffet frame. Install your chain onto the S-hook, making sure it is secure. Having extra chain at this step is fine, as you can cut and change the length if it is too long.
Inspect where you’ll be putting the two square dowel rod bottom stops, ensuring they will stop at 90 degrees when the front piece is folded down. Before fastening them to the front, make sure they will be placed a few inches from the edges of the front piece. These bottom stops are important; they will help the front piece support weight from whatever is being placed on it once it is opened for use. Then inspect all areas of the buffet, sand down rough areas and be sure to fill any screw holes or gaps with wood filler.
The next step is applying paint or stain of your choice to all wood surfaces. Make sure whichever stain or paint you decide to use is exterior grade and has a durable finish once it is dry. Most stains will need a top clear coat of exterior polyurethane or similar clear coat. If you choose to paint the wood surfaces, a primer is recommended to ensure a professional and even-looking finish for the final top coat. After your paint or stain is dry, apply the top latch and back mounting clips to ensure the buffet is secure and will stay in place. Mount the assembled and completed buffet cabinet, checking it with a level after installation to make sure that it will be fully functional and safe.


